Here are parts 1 and 2 of the video I promised of our injera cooking lesson. As I mention in the introduction, we used 4 cups of all-purpose wheat flour with 1 cup of teff flour (I can buy teff in the organic/health section of our local supermarkets, or you could likely find it in a health foods market or African market catering to East Africans). Laura Litwiller suggests, however, using 2 cups of teff and 3 cups of all-purpose flour.
Day 1 (Wed): Assuming you have some starter already, you prepare the injera batter. (Note: Laura provided us with some of her starter, but she explains you can make your own using approximately a tablespoon of yeast, a half cup of teff and a half cup of white all-purpose flour, and warm water. Mix it together and let it ferment for a day or two before using it the first time). Starter is just a cup or so of batter you save each time you make the injera and set aside in a covered jar in the refrigerator. We let our starter come to room temperature before using it.
1. Begin by mixing the all purpose wheat flour (about 3 cups) and the teff flour (about 2 cups) with a wire wisk. The flour should be at room temperature, and we did not sift before adding it to a non-corosive lidded container (we used an enameled pot). Laura repeatedly reminded us "it's not an exact science."
2. Drain and discard the water off the top of the stored batter (leet). Using a spoon or spatula, scrape the thick batter remaining into a large bowl (this will be much less than the cup or so you started with). Heat 5 cups of water slightly (barely tepid) and pour a little of the water into the jar that contained the starter, shaking it to remove all of the starter batter. Add that to the bowl with the along with the rest of the water, and blend with the wisk.
3. Add about a quarter or a third of the water to the pot containing the flours, stir with the wisk, and repeat until all the water is used, stirring well after each addition, and making sure to blend all the flour in the bottom corners of the pot.
4. Cover the pot, and set it in a warm place free of drafts for two days to ferment. We had cool weather in our kitchen last week, so I kept my pot on the stovetop with the overhead stove light on, and by the end of the first day the fermentation process had still hardly begun. I cooked pizza that night and the heat from my oven must have warmed the stovetop slightly because after that the dough began fermenting in ernest. However, according to Laura, the normal procedure is for the dough to rise up and then separate into water on top and thick batter below. That didn't really happen very much, and we had very little water to remove when we were ready to make the injera. Laura said that was fine, too. Resist lifting the lid too often to see how the process is progressing, and certainly never stir it.
On Day 3 (Friday), 2 days later, we made the injera, along with 2 Ethiopian stews. I'll post those videos and recipes next.
Incidentally, I haven't forgotten that I still have 3 questions on African cooking to answer: the next one is the one about why African restaurants do not seem to be as popular or prevalent as other restaurants, from Asian to Chinese or Italian. I'll get back to those (and to the recipes from the regional Ghanaian cookbook) as soon as I catch up a little.
Thursday, June 25, 2009


Friday, June 19, 2009
Step-by-step Ethiopian Injera
 My family and I are great fans of Ethiopian/Eritrean cooking. After my son graduated from Harvard's GSD a few weeks ago, he and his co-graduate friend selected an Ethiopian restaurant in Cambridge for the celebration meal for both our extended families. That's the one time I forgot my camera! Anyhow, this week I'm cooking Ethiopian.
On Wed., Sore Shields and I had a preliminary cooking class with Laura Litwiller, a skilled local maker of injera, the spongy sour dough crepe/pancake that's emblamatic of Ethiopian cooking. She lent us some of her starter (years in the making), and helped us prepare a batter using teff and wheat flour. For the last 2 days it's been fermenting. I videotaped much of the process, and will soon post the video here.
Today (Friday) she's returning in the afternoon, and we'll be making the actual injera, along with a few side dishes, doro watt (a spicy chicken stew), siga tibbs (a beef stew) and gomen watt (an Ethiopian version of cooked kale). I think she's also bringing some shiro (a spicy legume powder), as I asked to see it. Since I've invited several friends for dinner (always the optimist), I'm going to whip up some kik pea alecha watt (a mild stew with chick peas, aka garbanzo beans), and an Ethiopian tomato salad, along with a vegetarian sambossa as an appetizer. If our local liquor store carries it, I'll probably pick up some Ethiopian tej (honey wine). All of that means I won't have any more time today to follow up on blog postings about our trip to Jamaica, a new Senegalise restaurant in Cambridge, answering my next question on African cuisines (about restaurants in the U.S.), and also posting another recipe from the Ghanaian regional cookbook. Trust me, I haven't forgotten. There just don't seem to be enough hours in a day!
Monday, June 15, 2009
Historic African Cuisine Panel at the ASFS/AFHVS Conference
 I'm back from 2 weeks of graduations, being with family and friends, tasting Jamaica, and generally being treated like a queen. There is much to catch up on, beginning with a few words about the panel on "Interdisciplinary Perspectives on African Cuisines" held on May 30th at Penn State and the small dinner party afterwards. The panel went well (despite being scheduled for 8 a.m.
Saturday morning): we started off with Cindy Bertelsen's overview of African flavor principles (see her Gherkins and Tomatoes website for more information: principles-out-of-africa/ (the basics); principles-out-of-africa-a-fish-tale/; principles-out-of-africa-its-the-beans/ (fermentation and oilseeds);
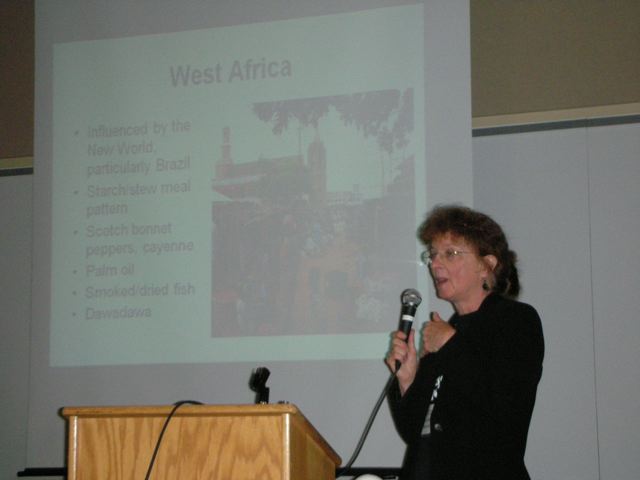 http://gherkinstomatoes.com/2009/06/06/10572/ (pumpkins). Igor
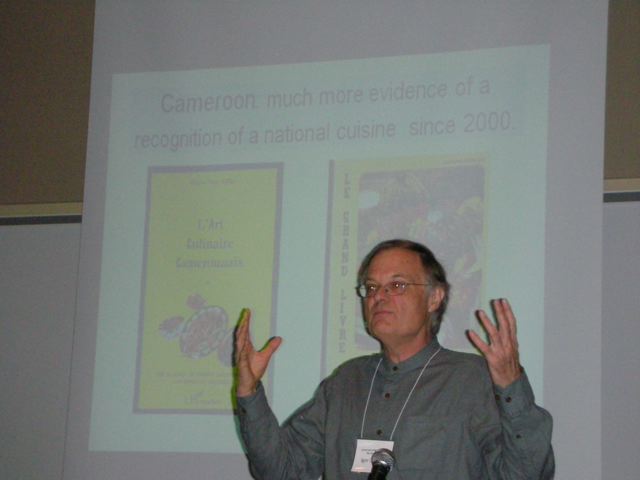 Cusack followed up with a discussion of cookbooks and national identity in Africa. Through what seemed incredible indifference and inefficiency on the part of the U.S. Embassy in Yaounde, Forka Leypey Mathew Fomine was unable to receive a visa in time to attend the conference, so I (Fran Osseo-Asare)
summarized his original research on the evolving role of the African giant land snail in the diet in parts of Cameroon. Please
 contact me if you wish to obtain an electronic copy of his fascinating paper. I then made some observations of my own about the cassava "saga" in Africa, and the transformation of cassava from an orphan crop to a nurturing "mother," and an important emerging cash crop in West Africa. Culinary historian Michael Twitty rounded out the
  session with a look at ethnic culinary variation in West African links and contributions to American Southern cooking. There was some lively discussion, and the general consensus was that there is a huge need for more of these kinds of opportunities to focus on African cuisines. I would
personally love to see sessions on African cuisine in literature and art, or on African cuisines and culinary tourism. Our biggest
 frustration that Saturday morning was "so much to say, so little time!"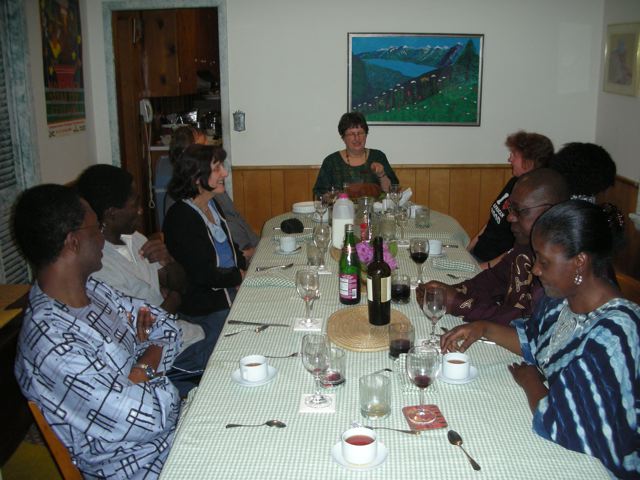
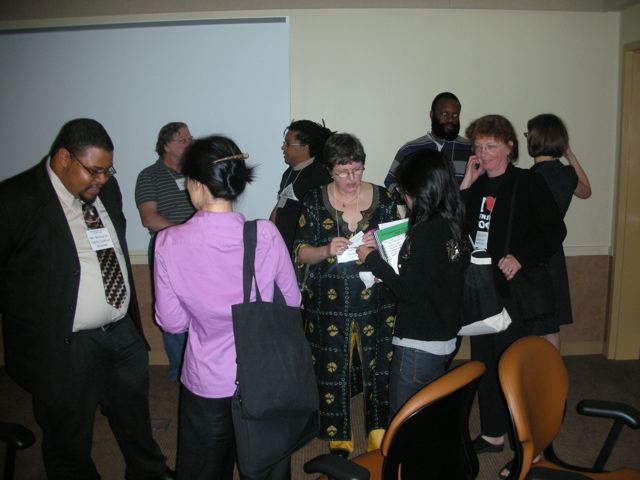
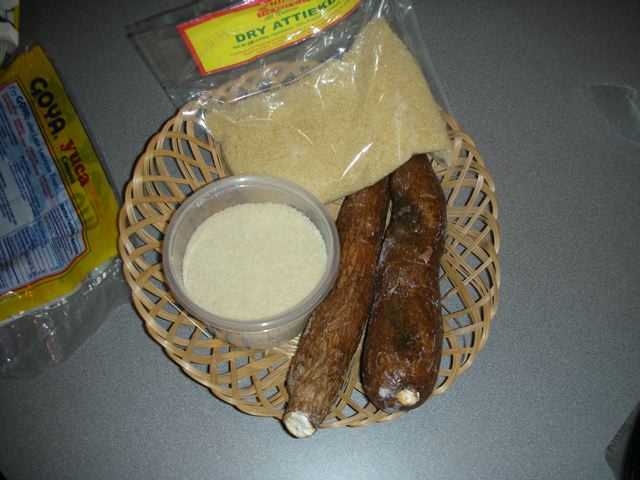
For more pictures, go to BETUMI on flickr (ASFS/AFHVS May 30, 2009).
Tuesday, May 26, 2009
Conference and Jamaica
 It's been a challenge keeping last month's promise to post 2-3 recipes a week. I've managed so far, but now through June 15 are busy with conferences and travel, and I make no promises until I return in the middle of June. The exciting thing is that, barring the unforeseen, I plan to be in Jamaica the second week of June. This is somewhere I've never been before! I'll get to taste some Caribbean things I've only read about or eaten in U.S. restaurants. Since the last few weeks I've been immersing myself in cassava (e.g., manioc, tapioca, mandioca) history, I'm especially excited to taste bammy and cassareep. Also, I've always wanted to see how the dish callaloo compares to Ghana's nkontomire stew. The bottom line is, postings will be irregular at best, and likely will not include recipes. Consider me on vacation for a couple of weeks, but I will post as I am able.
Thursday, May 21, 2009
Recipe #6: "Tom Brown" porridge
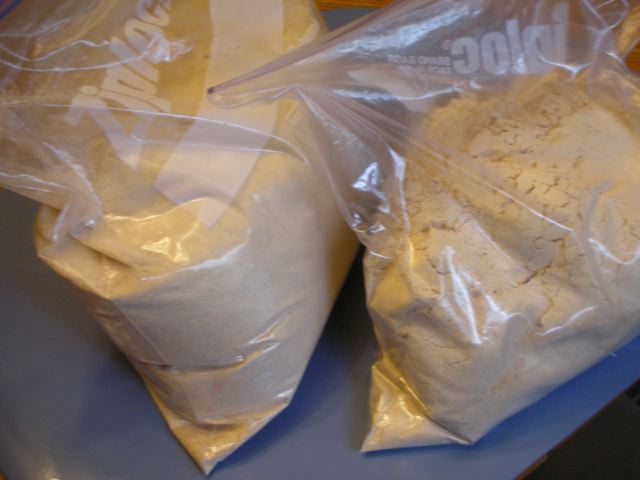 My recent "Ashanti fowl" recipe took me 3 days to post, so here's a quick and easy breakfast food for recipe #6.
A friend who just returned from Ghana stopped by recently with 2 bags of toasted cornflour. I've been wanting to make the porridge called "Tom Brown" the past few days, and was happy to have it.
She said she knows I like "aprapransa" (a palm soup/stew dish with the toasted corn flour I'll share another day). I corrected her that it was my husband who really loves it, but every time I make it he complains that it isn't as good as his grandmother's was. She assured me that no matter what I will do, it will NEVER be as good as he remembers hers, so I should "just let go of that burden." Thank you, Connie.
The "Tom Brown" porridge recipe is quite simple. The hardest part is getting the right corn flour. In Ghana they lightly toast the corn before grinding it. For years I tried unsuccessfully to duplicate the process. The corn in Ghana is not sweet corn, it is hard like Indian corn. One recipe said to use ground popcorn, toasted lightly in a dry frying pan. It's much simpler to check with an African market that specializes in West African ingredients and get it from them. This is a favorite student breakfast food I remember fondly from my days teaching at a boarding school in Nungua, along the coast of Ghana.
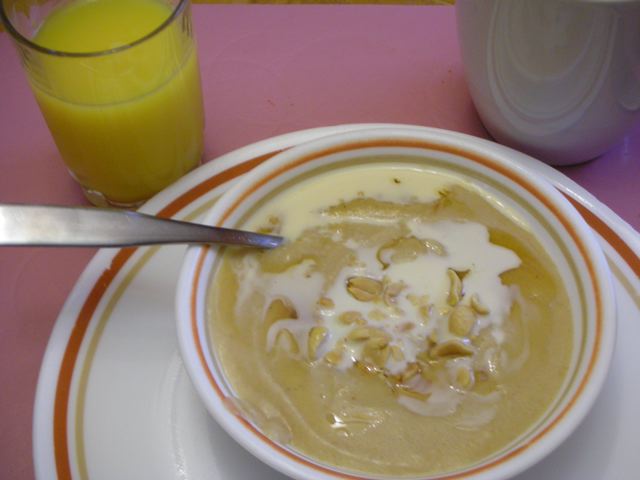
To make enough for 2 people, one simply brings 1/2 cup of water to a boil in a pan. While it is heating, add 1/2 cup of the flour to 1/2 cup of water in a bowl, and a little salt to taste and mix thoroughly (I use a whisk). When the water in the pan comes to a boil, reduce the heat and slowly stir in the flour/water mixture. It will cook in just a couple of minutes. I ate mine with some honey, evaporated milk (the way I learned to eat it in Ghana), and chopped peanuts on top. If you like a thinner porridge, just add more water.
Wednesday, May 20, 2009
Stuffing and roasting Ashanti fowl, Part 3
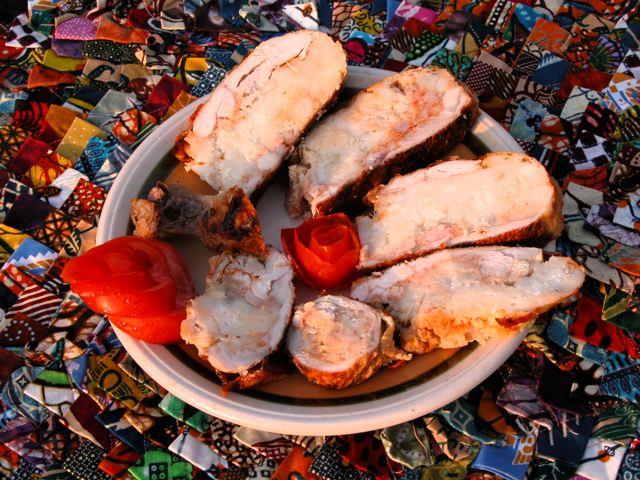 Once the chicken is deboned (see yesterday's post), it is time to stuff it. When we did it in Ghana we first seasoned the chicken with (sigh) a crushed chicken Maggi cube, plus some salt (about 1/2 teaspoon) and about 1 teaspoon dried ground red pepper, then closed up the chicken and let it marinate a few minutes while we prepared the stuffing . I skipped the
 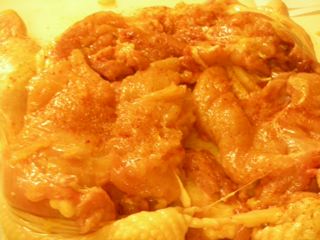 Maggi cube, and wished I'd had some fresh ginger and pepper, but used salt and dried red pepper.
In Ghana we also prepared fresh spices to coat the outside of the chicken, as is often done in Ghana when roasting meat (some fresh ground ginger [1-1/4 teaspoon], about 2 tablespoons of tomato paste, 2 cloves of crushed garlic, about 1/2 teaspoon dried red pepper, and a medium onion, grated). If you wish to use these, prepare them and set them aside until you have finished stuffing and sewing up the chicken. Other recipes simply call for coating the outside with oil and salt. That's what I did this time, basting it with its juices as it cooked.
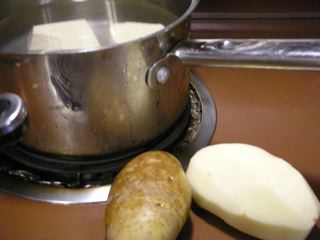
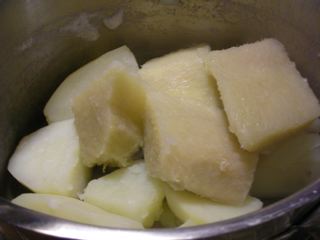
For the stuffing, in Ghana we simply peeled, boiled and mashed about 1 pound of African yam (and thought we should have used more, like 1 1/2 pounds) or one could substitute an equivalent amount of potatoes with 2 ounces of flour). The cook in Ghana added salt and a sliced onion (about 1/2 cup). I found this stuffing too bland, and followed the earlier precedents of making a sauce of chopped onion,
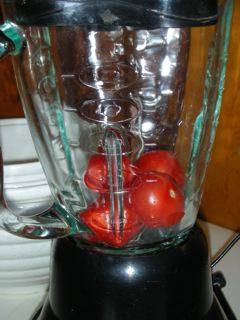 crushed garlic, blended tomatoes, salt and red pepper, a few tablespoons of natural-style peanut butter (I had crunchy on hand) and mixed that in with the yam. When I went to peel it I found much of my yam had spoiled, so I had to supplement the yam with boiled potatoes, and still didn't have as much as I would have liked for the stuffing. After boiling the yam and potatoes, I mashed them (and threw in a little butter) and set them aside while I prepared a sauce.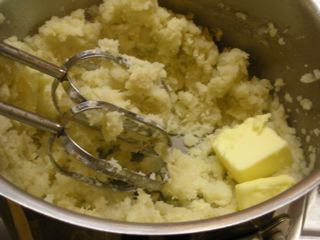
Some recipes for Ashanti chicken call for frying or cooking an additional pound of chicken meat separately, but I do not think that is necessary, either (and we did not do that in Ghana when I made it there.) Actually, while I was deboning the chicken,
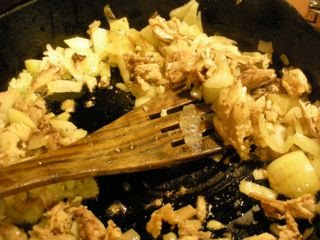
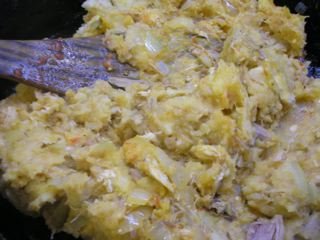
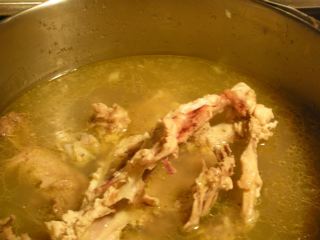 I threw the bones with the bits of meat clinging to them, and the neck and giblets, into a pot with some onion, garlic, tomato and salt to make stock, and just removed the bits of cooked chicken from the stock bones to add into the stuffing mixture. I followed earlier recipes by throwing in a few tablespoons of natural style (crunchy) peanut butter as well. I didn't have exactly what I wanted, but used what I had handy. I think North Americans would like to add other ingredients, like maybe chopped mushrooms or parsley. My creative husband suggested experimenting with chopped okra and/or dicing but not mashing the yams.
At any rate, when I had my sauce ready I mixed everything together, then stuffed the chicken and sewed it up with some kitchen twine.
 One needs to place some foil over the pseudo wings and drumsticks to keep them from browning too quickly, and I also found I needed a little foil on the top of the chicken, which I roasted uncovered in a regular roasting pan at 375 degrees Farenheit for about an hour and a quater to an hour and a half (when my thermometer pushed into the thickest part of the chicken reached 185 degrees Farenheit).
As I mentioned, I basted the chicken in the oven from time to time to keep it from drying out, and basted it with a little oil and salt. And there you have it. Serve it with some Ghanaian gravy, and a side vegetable.
Tuesday, May 19, 2009
Recipe #5: Step-by-step Ashanti fowl, Part 2
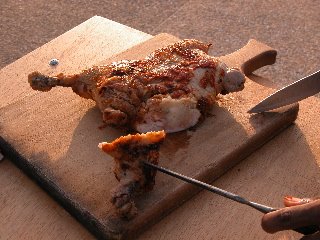
I did an online search to see just what people had to say about "Ashanti fowl," a boneless stuffed roasted chicken. The Congo Cookbook probably had the most comprehensive information, especially about its similarity to Louisiana chef Paul Prudhomme's "turducken." The Congo Cookbook listed (and other people followed its lead in stating there were) only 2 written recipes: Alice Dede's and Barbara Baeta's. Not quite correct: Alice Dede's 1969 version is an adapted version from the earlier Gold Coast Nutrition and Cookery (GCNC) published in 1953. That recipe for "Ashanti Fowl" (p. 146) is identical to Dede's, except that Dede substituted 2 slices of yam for 2 slices of bread. The original recipe using bread seems to indicate some European influence (perhaps a Ghanaian chef experimenting for expatriates?) Please note that Dede is referring to African yam, NOT sweet potatoes or American yams. In Barbara Baeta's 1972 version (see photo on left, from her
 printed recipe cards), she calls for cooked mashed yams or potatoes. REPEAT: sweet potatoes are nowhere mentioned--this substitution in online recipes is likely due to the confusion over American "yams," which are not at all the same as African yams (I know, I know, I keep saying this over and over). A starchy potato, like a russet, would be a far better choice if African yams are not available. But if you can get them, puna yams from Ghana are best! Or, go back to bread stuffing. By the way, "a slice" of bread or yam is quite imprecise, as you'll see when we get to the stuffing mix part in another blog posting.
Interestingly, in GCNC the recipe immediately preceding the one for the roast fowl includes the "African method" of roasting fowl, which means stuffing it with ground red pepper (as in freshly ground chili peppers), onions, salt and tomatoes. This is consistent with Ghanaian spicy flavor principles. The GCNC book also includes a recipe for making gravy to serve with the roast fowl. This is a Ghanaian-type gravy made from heating a little oil, then browning a tablespoon of flour in it, adding chopped onions, chopped tomato, ground (fresh red) pepper and salt, then adding water, letting it boil for 5 minutes and stirring it well.
I think making gravy to accompany Ashanti fowl is a good idea.
Okay, fast forward to the 21st century. When I was spending time with Barbara Baeta in Ghana at Flair Catering a few years ago, I asked if we could make Ashanti Fowl since I'd always wondered how to do it. She arranged to have one of her young assistants, "Henry (Henrie?)," show me his version, which varied somewhat from Barbara's original recipe.
However, making Ashanti chicken is not for the faint-hearted nor the person in a rush. It's pretty complex, so I'll break it down into parts.
Today I'll talk about the first part, which for me was the biggest challenge, de-boning the chicken. Most recipes simply say "de-bone" or vaguely "remove the bones from the chicken" (I'm sure you could use another "fowl, " like guinea fowl, but in this case they always seem to mean chicken). I'm not trained as a professional chef, and maybe you learn de-boning chickens in chef's school, but for the rest of us, here's how I did it. Sharpen your knives before you begin!
Fortunately, I didn't have to kill and pluck the chicken and remove its insides. Here are the photos I took, messily, as I worked in the kitchen:
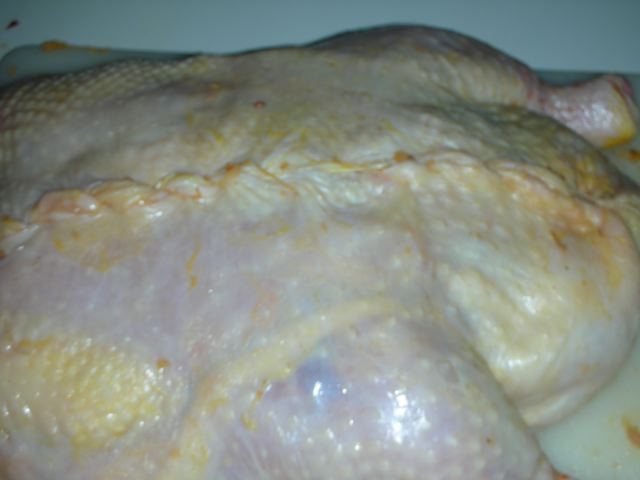
1.
 Wash and pat the chicken dry with paper towels. I used a roaster chicken, heavier than the 3 or so pound chicken usually recommended. A roasting chicken is "harder" than a fryer and thus easier to debone.
2. I should have started by cutting of the wings at the joint (that caused a problem at the end), but instead I began at the top (back)
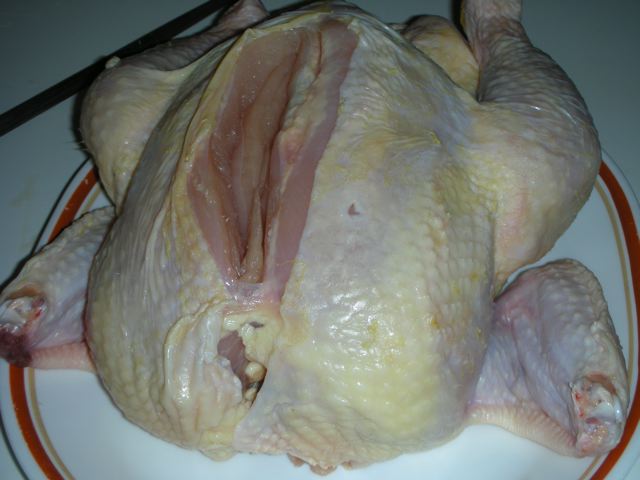 by the neck end and carefully cut alongside the breastbone, cutting down to around where the thigh is and turning it around and cutting back the other way. Notice, I didn't cut all the way to the end.
3. My notes said "cut the drumstick free and loosen both sides." I gather that meant cut it free at the joint, loosen the skin from the chicken, then flip the drumstick (without its skin) outside so that, holding the fat end of the drumstick, you can scrape to the bone to
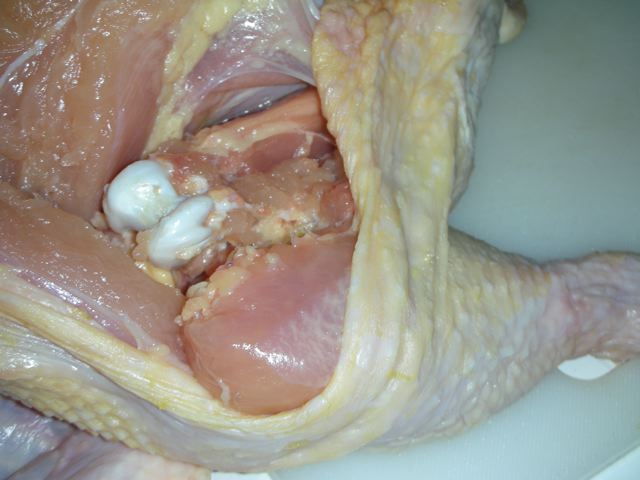 release the meat.
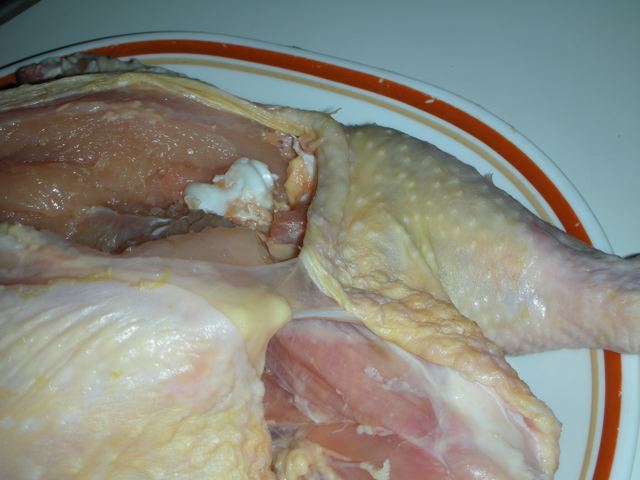
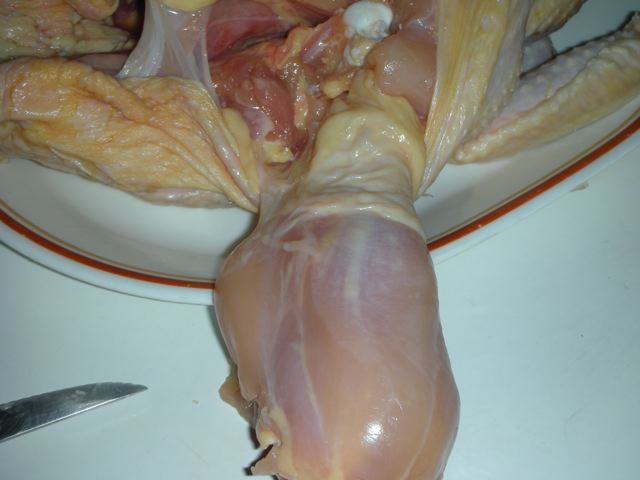
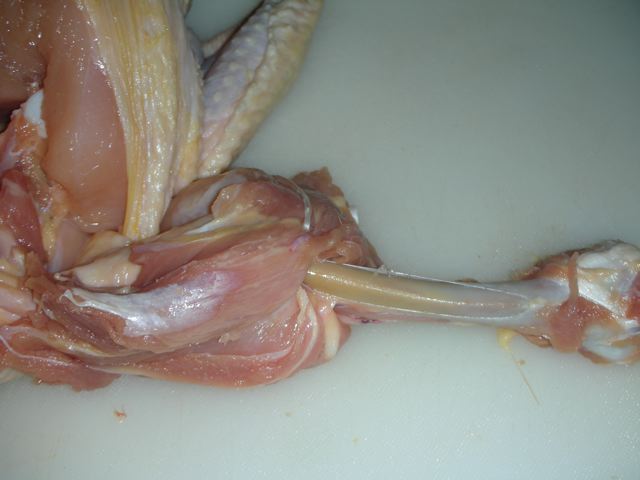 4. Using a cleaver (or other heavy knife), break the bone so that about a half inch of the end of the drumstick is left. This is the only bone that will be left in the whole chicken at the end.
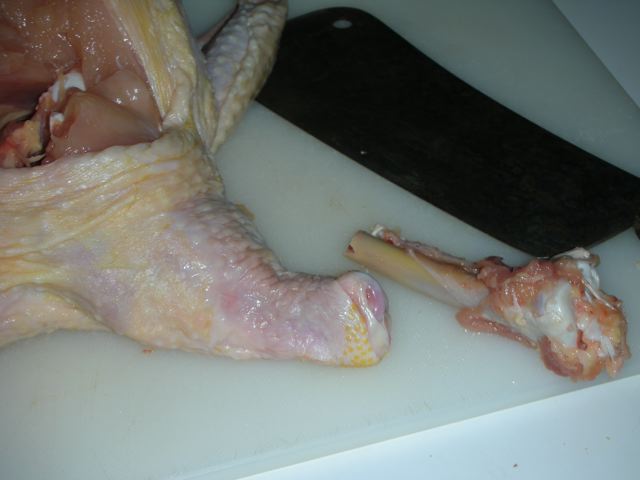 5. Push the drumstick end back into the chicken and repeat with the other drumstick.
6. Loosen the skin all down the back, starting from the neck end to the tail. I had trouble with this near the end because the skin
 wouldn't easily loosen from the bone and wanted to break.
7. The next part was cutting the backbone off and separating it from the breastbone. That was kind of messy.
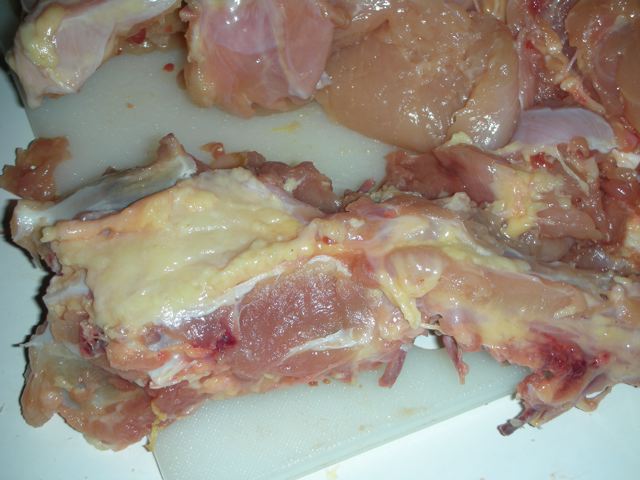 I was breaking bones and trying to figure out how to separate the two. It finally came out. It looks like I forgot to take pictures near the end (it was getting late, everyone was hungry, and I was trying to hurry).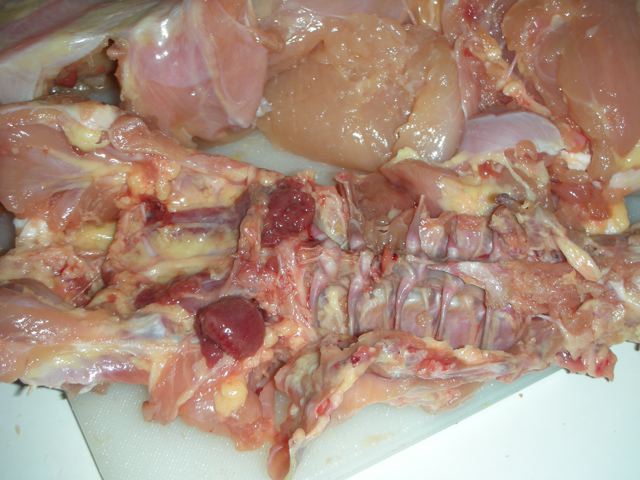
The net result was, I eventually separated the breastbone and backbone, scraping as much meat as possible off the bones before I removed them.
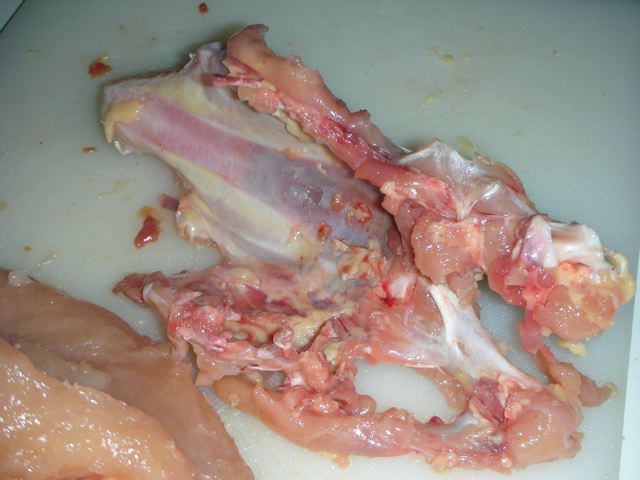 8. After I did all that, I should have had all the bones out (except for the token end of the drumstick, which is part of the final
 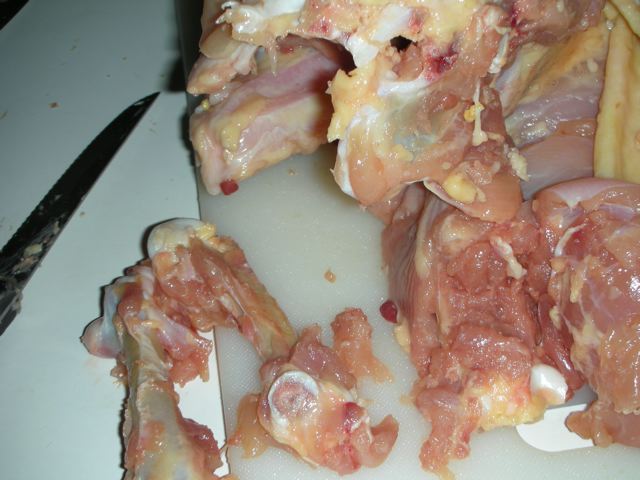 presentation). However, since I had not taken care of the wings earlier (at the beginning, right after blotting the chicken), I had to cut them each off at the joint, and remove them.
9. By this point the chicken was deboned, and I just realized I didn't take any pictures of it flattened out before I stuffed it. The next one I took was when I had already stuffed it. Whoops. At least you get the idea. Check back soon to see what I included in my stuffing, and the rest of the adventure. My apologies to all of you who can neatly and efficiently do this deboning bit. Are there better online resources showing how?
Monday, May 18, 2009
Recipe #5: on its way: Step-by-step Ashanti chicken
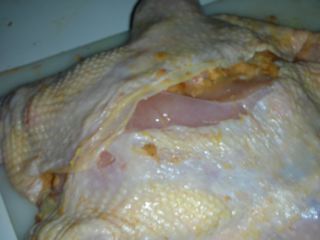
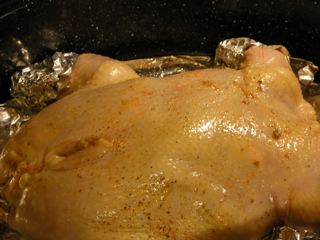
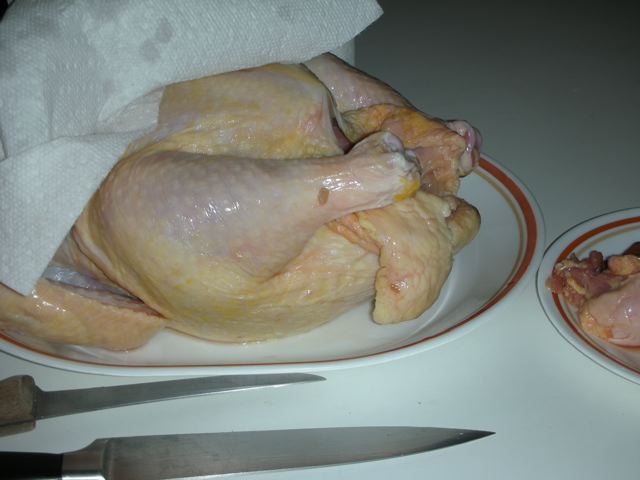 I returned from Washington DC at 1 a.m. this morning, played catchup all day, and then at 7 p.m. started to make the recipe I had planned, the legendary "Ashanti fowl (chicken)." I'm rough at deboning chicken, so it took me a couple of hours to get the stuffed chicken into the oven, and now it won't be ready until 10:30 p.m or so, so I've changed our dinner menu, and also will have to post the recipe tomorrow. To whet your appetite, here are a couple of the pictures as I went through the process: patting the chicken dry and as I just put it into the oven to roast. Tomorrow look for the history behind this dish, and my experiences making it. Check back for "the rest of the story."
Friday, May 15, 2009
Question #7: Isn't the food really unhealthy?
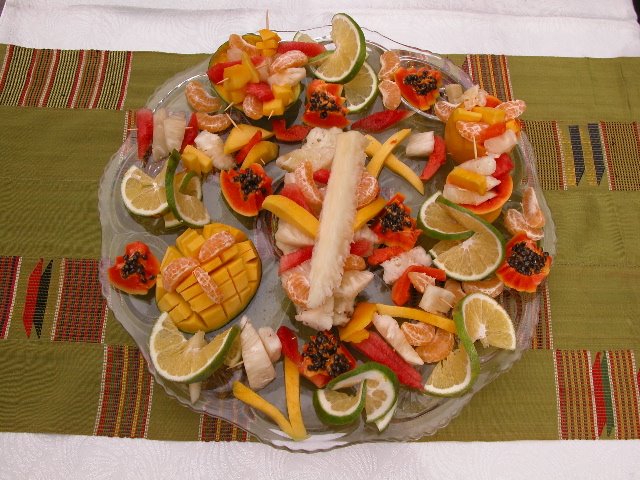 Let's begin with the negative and work to the positive: The stereotypical image of sub-Saharan Africans is either an emaciated starving African, gaunt and haunted, or else a sweating, corrupt, obese politician. If you've never read Binyavange Wainaina's witty and astute 2005 "How to write about Africa," please do.
"Everybody" knows that, unlike the "healthy" Mediterranean diet, Africans suffer from malnutrition, iron and/or calcium deficiency, parasites of all kinds, goiter (especially caused by iodine deficiency), have very short life spans, etc., etc., etc. Sometimes it's also suggested that "Africans" are lazy, childlike, and/or unresourceful (again, see Wainaina's article). It's important to reflect on these images and unexamined assumptions.
Of course, in many ways colonialism and slavery and other disruptions of the past few hundred years played havoc with the food systems that existed previously in more or less harmony with nature. Things like cash cropping pushed out traditional food crops, forced labor removed workers from their farms to work in mines and on plantations, war and violence decimated normal agricultural cycles. Poverty and powerlessness became common.
I recently came across an interesting article in a 2003 issue of the Journal of Historical Geography ("French beans for the masses: a modern historical geography of food in Burkina Faso") by Susanne Freidberg examining how French green beans entered the diet in Burkina Faso. In addition, Western and Western-trained agricultural "experts" too often made disastrous recommendations to farmers (e.g., eliminating inter-cropping when planting, utilizing crops requiring expensive inputs, neglecting research to improve local varieties of foods, adopting inappropriate technologies, such as irrigated farming or mechanized tractors and straight row planting).
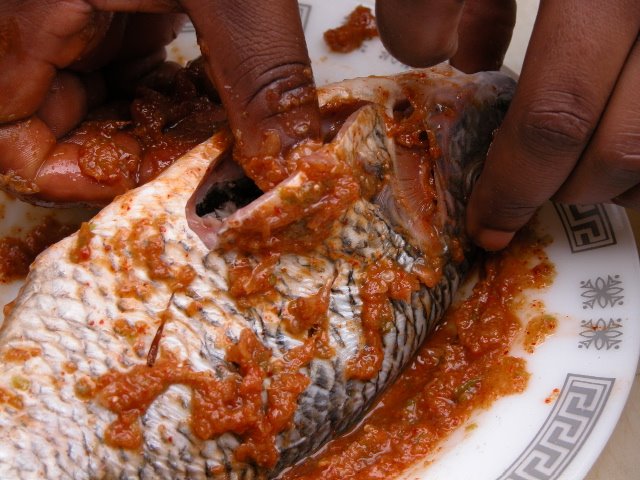
Remember, when sub-African countries first gained their independence in the second half of the 20th century, most were self-sufficient in food production. That situation is completely reversed nowadays. What people can get to eat may not be what they prefer to eat.
Once again, it's necessary to disaggregate the many countries in Africa according to geography and history, economies, religion, natural endowments, etc. Some are arid or semiarid, some are tropical, some are nomadic, some settled, some wetter, some drier, some landlocked, some coastal. The westerners of Victorian England labeled Africa the "Dark Continent" or the "White Man's Grave" because things like anopheles mosquitoes and tsetse flies spread malaria and "sleeping sickness." "Malaria" literally means "bad air," and people thought somehow the wet places and swamps infected the air causing white people to get sick and die there.
Many foods common in African diets, from corn to cassava or peanuts, replaced earlier ingredients like millet, sorghum, fonio or bambara beans, and that is part of the normal change in diets and food migration. However, powerful influences coming from outside of Africa are able to foster and maintain preferences for "elite" foods, such as wheat and rice and seasoning cubes (or, tobacco, coca cola, or baby formula) that may have negative long-term effects on national diets. Multinationals may be able to supply emerging urban markets with their grain surpluses at lower prices than traditional farmers and thus change diets. Ghana, for example, is not able to raise wheat and yet there in high demand for it: in 2002, 90% of Ghana's imported wheat came from the U.S.
Last year I was part of a discussion on health concerns of emerging African diets (which parallel those in many developing and developed countries), such as diabetes.
But let's look at some healthy aspects of many African diets. Here are a few observations:
Many use protein sources like meat or seafood or poultry sparingly to flavor soups, stews or sauces, rather than in excessive amounts. Diets also include nuts, seeds, beans and legumes. Often there is a use of fresh, less processed ingredients.
Steaming and roasting are common food preparation techniques.
Many sub-Saharan country diets are characterized by
a
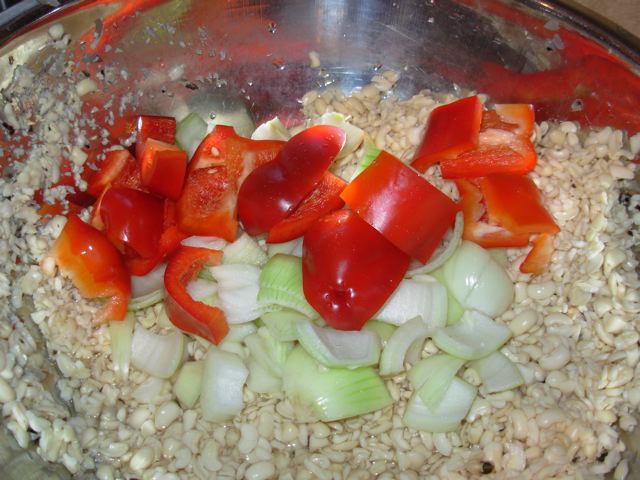 much lower sugar consumption than in the U.S., with a preference of fresh fruits over fat- and sugar-laden desserts and snacks.
Often, many African countries' diets are gluten-free or lactose-intolerant friendly.
In many parts of Africa, there is liberal use of onion, garlic, and chili peppers, each with health-promoting qualities.
The same is true of many cooked greens and tomatoes and ginger.
Notably, the hunter-gatherer San people of southern Africa are believed to have historically had a very healthy diet, about 80% vegetables, eaten fresh, and including dozens of plant species and about 17 edible animal species. Their young were said to show no signs of malnutrition, and it was through the San people that the ingredient P57, an anti-obesity drug from the hoodia cactus, entered Western consciousness.
Similarly, the southern African herbal teas made from rooibus (Afrikaans for "redbush") are now popular in North America, and the dried hibiscus flower is increasingly becoming common in herbal teas, as are other teas such as North African mint tea or lemongrass tea.
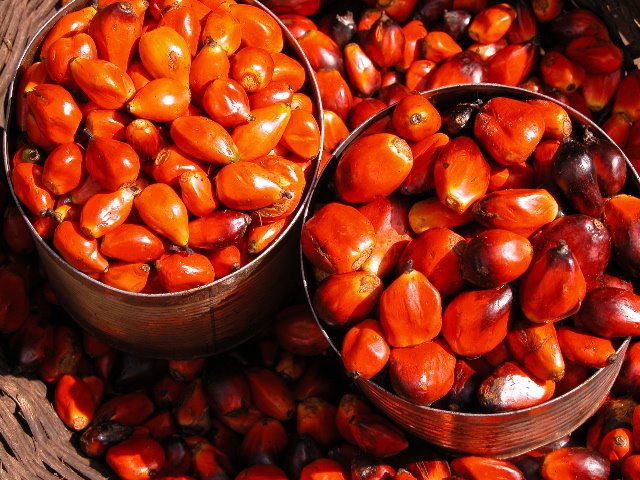
One common complaint I hear is how unhealthy West African palm oil is. As I mention in my article "We Eat First With Our Eyes: On Ghanaian Cuisine" we often confuse palm kernel oil with palm fruit oil, neglect to consider palm oil may be refined or unrefined, and that there are various grades of quality, just as there are with olive oils. We are unaware of the findings reported in the Cambridge World History of Food that ". . .when palm oil is added to a Western diet, the level of plasma HDL cholesterol typically rises, leading to a better LDL:HDL ratio, and this ratio--rather than the total amount of total plasma cholesterol--appears to be the better indicator of the risk of coronary artery disease." That document concludes that ". . . now that the wider nutritional benefits of palm oil’s natural carotenoids are becoming more generally recognized, perhaps it is time to rediscover the fully flavored red oil and promote its use, not only in Africa and Latin America but also in Asia and the West."
When one observes people in the U.S. stuffing down hamburgers and French fries and chips and drinking super-sized soft drinks, or the pastries and mega-size sugared drinks being consumed in coffee shops, one has to wonder about the claims of superiority of the Western diet.
Wednesday, May 13, 2009
Recipe #4: Puha, refreshing tamarind drink
 Did you know that the name of the capital of Senegal, "Dakar," comes from the Wolof word for "tamarind"? Also, that tamarind originated, not in India, but in Africa [even though its common English name comes from the Arabic tamar-u'l-Hind, meaning "the date of India"?] Or that tamarind is the "secret" ingredient in many barbeque sauces as well as Worcestershire sauce? Tamarind has a wonderful sweet-tart flavor that makes it a favorite for drinks throughout Africa. For more fascinating detailed information about it and its varied uses on the continent, check out Vol III of the Lost Crops of Africa.
I once spent a pleasant afternoon in Tamale, northern Ghana, with the industrious Mrs. Comfort Awu Akor and her daughter Amadu George Shetu learning to make a popular tamarind drink known by the Hausa word "Puha." Comfort made it in commercial quantities (over 13 gallons) to sell from her home in little plastic bags chilled or frozen in her refrigerator and/or freezer, but I have modified the recipe. Also, she used "2 bags of masoro." Masoro is the Hausa name for a kind of spice also known as " Ashanti pepper" or "false cubeb pepper" in English, or "soro wisa" in Twi. It's unavailable to me where I live in State College, Pennsylvania.
While in Ghana the tamarind is processed into balls and sold in the outdoor markets, in the U.S. it is possible to get imported plastic packages of "soft" or "wet" tamarind from places like Thailand and India. The one I have right now from Thailand has salt added to it, so I'm using the Indian package (about 8 ounces), even though I've read that the Thai tamarind tends to be sweeter and the Indian more sour. (BTW, I cut the Indian package before I remembered to take a picture). The Indian tamarind was from our local Wegman's. It's also possible to buy tamarind concentrate, which would probably make this process faster and easier, but I'm sticking today with a more traditional approach. This recipe makes about 1/2 gallon. I'll include photos I took as I worked. They're not fancy, but if you want to see how the process goes, they should do the trick.
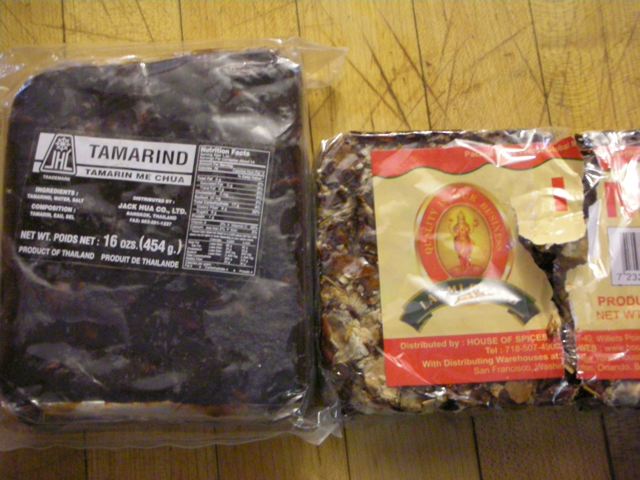 (BTW, I cut the Indian package before I remembered to take a picture). The Indian tamarind was from our local Wegman's. It's also possible to buy tamarind concentrate, which would probably make this process faster and easier, but I'm sticking today with a more traditional approach. This recipe makes about 1/2 gallon. I'll include photos I took as I worked. They're not fancy, but if you want to see how the process goes, they should do the trick.
Puha (West African tamarind drink)

Boil 3 cups of water and add about 4 oz (or 125 grams) of packaged tamarind (without salt). Stir it to break it up and let it steep for an hour or two.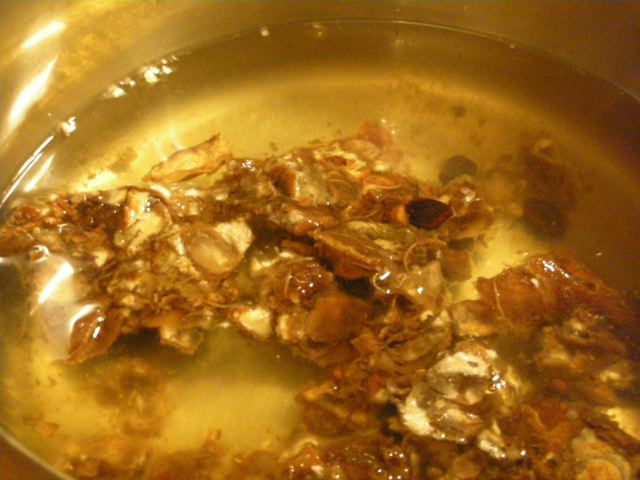
While it is steeping, gather the other ingredients:
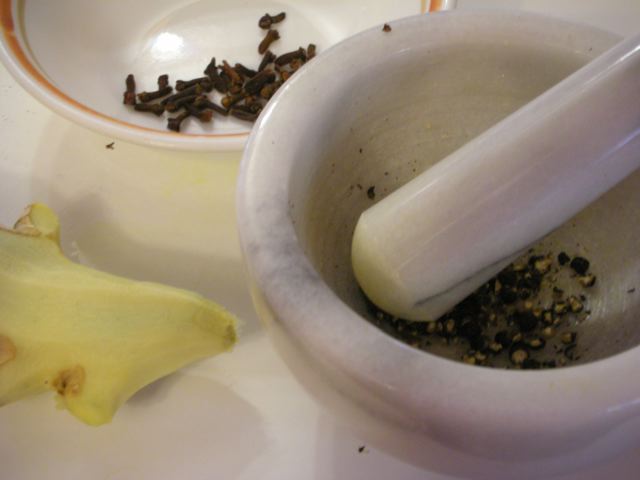
1 teaspoon whole cloves
1/2 teaspoon whole peppercorns (I'm substituting black peppercorns for the masoro, reducing the quantity, and hoping they won't be too strong)
about 3 tablespoons of peeled, ground or grated ginger
2 cups of sugar
1/2 teaspoon whole peppercorns (I'm substituting black peppercorns for the masoro, reducing the quantity, and hoping they won't be too strong)
about 3 tablespoons of peeled, ground or grated ginger
2 cups of sugar
As far as special equipment goes, besides the pan for boiling the water you could use a small mortar and pestle for breaking up the cloves and peppercorns, a frying pan for lightly toasting the pepper, a large strainer, a smaller tea strainer, several (stainless steel) bowls, measuring spoons, a vegetable peeler for peeling the ginger, a grater for grating it, a container for storing the puha (and an ice cube tray if you decide to freeze a little of the puha as I explain below).
After the water with the tamarind has cooled, I use my (clean!) hands to squeeze it thoroughly to remove the pulp from the seeds before I move on to the next step. (This is similar to how one squeezes palm nuts to remove the pulp from the seeds when making palmnut soup from the actual palm nuts.)
Peel and grate the ginger, lightly toast the peppercorns for a minute or so, then crush the cloves and peppercorns in the mortar and pestle.
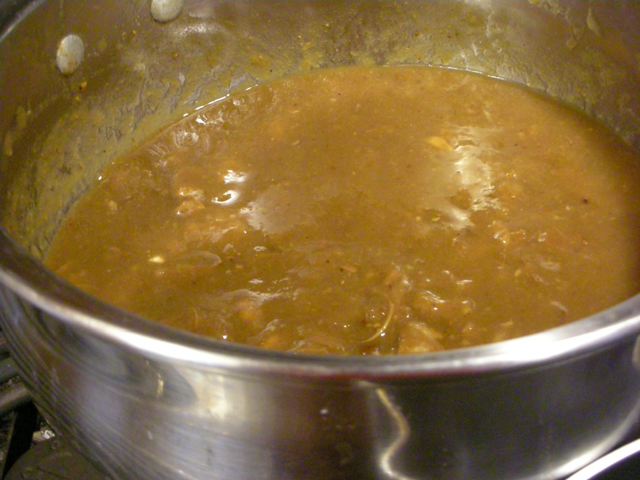
Put about 3 cups of cold water in a clean bowl, set the large strainer over a different bowl, and pour the tamarind/water mixture into the empty bowl, shaking it and using your hand to squeeze as much liquid as possible out of the mixture. In several batches, pour some of the 3 cups of clear water in the other bowl through the strainer, continuing to strain as much of the water/pulp mixture into the bowl you first strained into. When you have finished with the 3 cups of clear water and have as much tamarind liquid in the bowl as possible, discard the seeds, and other pieces of tamarind in the strainer, and rinse it clean. Put about 3 more cups of water into the empty bowl, and add the ginger, pepper and
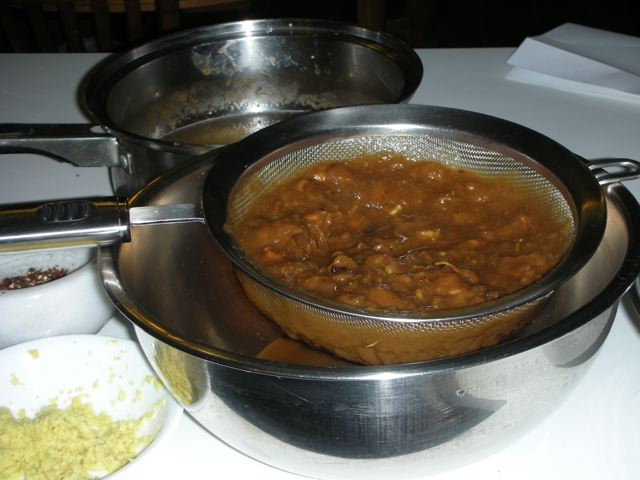 cloves in the bowl. Stir them and let them sit in the water for several minutes. Then, using the tea strainer, strain the water with the ginger and spices into the tamarind mixture. Discard the ginger/spice mixture. For the final step, I usually strain the mixture one last time, then put a few cups of the tamarind mix into a bowl and add about 1 3/4 cups of sugar (in Ghana they likely use more sugar to make a sweeter drink than I prefer), or to your taste. Mix it until the sugar dissolves, then add it back into the bowl with the other tamarind mixture.
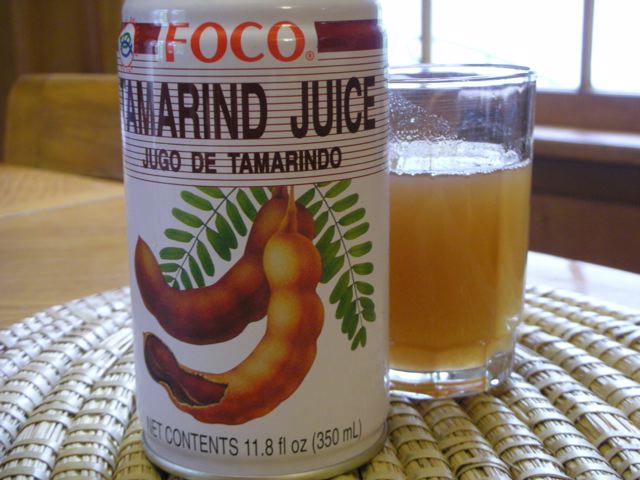
Voila! Puha. My favorite way to serve puha is to freeze it into small cubes and use it as a palate cleanser between dinner courses, but it is also a refreshing cold drink, which people claim has various health benefits. Incidentally, tamarind drink is also popular in Mexico and Asia. Goya and other companies sell it in cans, as shown below. However, the can below contains only water, tamarind pulp, sugar, and high fructose corn syrup. I prefer freshly made, slightly spicy West African puha. And for those who are concerned about sugar intake, it should be a simple matter to substitute something like Splenda for the sugar.
Subscribe to:
Posts (Atom)